
Learn how to wrap text around a circle in Photoshop, both convex and concave, allowing you to design circular badges, emblems, and logos that display names and messages with ease and control.
Video Tutorial
Want to follow along step by step while I demonstrate the tutorial? Feel free to watch the video tutorial below, and take things at your own speed.
Step-by-Step Tutorial
Wrap Text Overhead
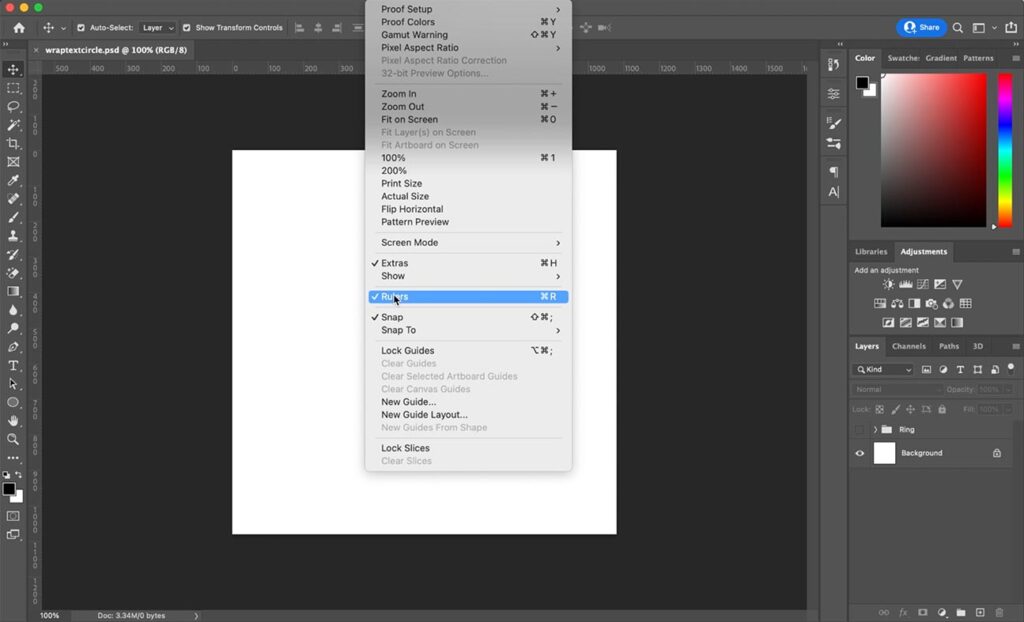
Step 1 – On a blank canvas (any size, for ease however I am using a square canvas) turn on your rulers by going to view > rulers.
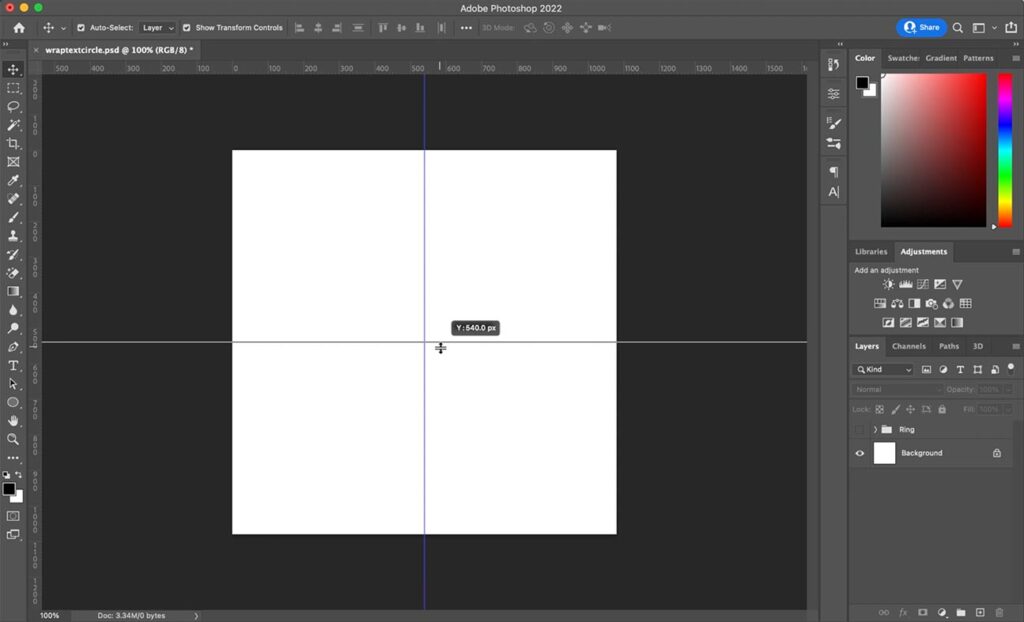
Step 2 – Drag out a horizontal guide and vertical guide from the rulers onto the canvas, and place them at the center point (it should snap into place in newer versions of Photoshop). Go to view > guides > lock guides to lock them in place.
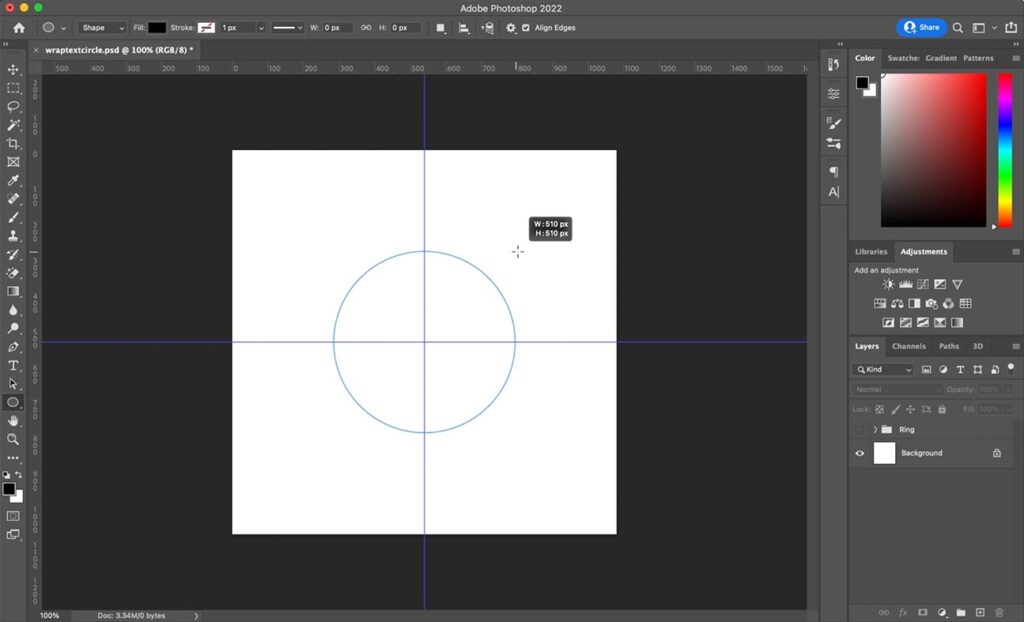
Step 3 – Select your ellipse tool from the left-hand toolbar and drag out a perfect ellipse on the canvas by holding shift and alt as you drag, then release.
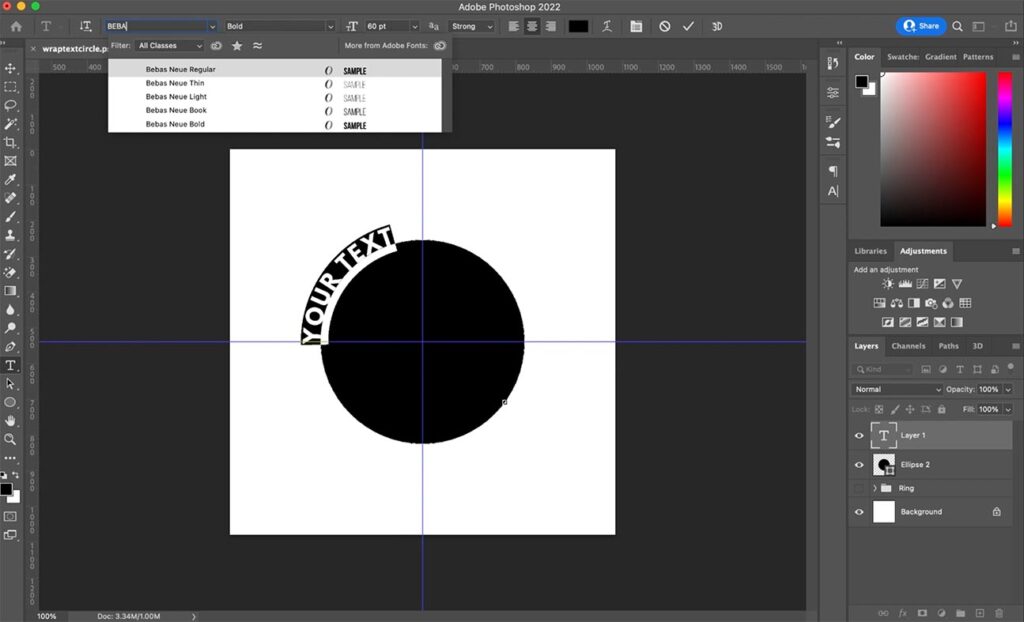
Step 4 – Select your type tool from the left-hand toolbar and hover it over the path until a wavy line appears.
Click to create type on a path, which will fill with generic text.

Step 5 – Type out your desired text. If you lose the selection, use the type tool to click the text and use cmd/ctrl + a to select all text, then use the delete key to delete the generic text.

Step 6 – Use cmd/ctrl + a to select your text, ready to be edited.

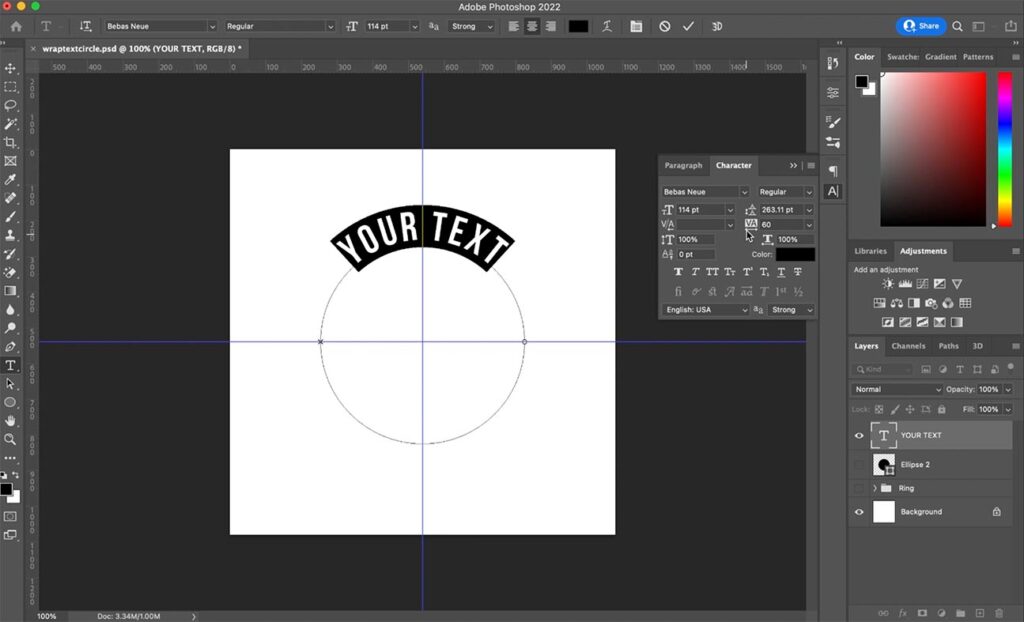
Step 7 – Use either the text options in the top bar, or the character and paragraph panels (window > character/paragraph, found on the right-hand toolbar) to select a font type, font size, and font kerning of your choice, among other options.
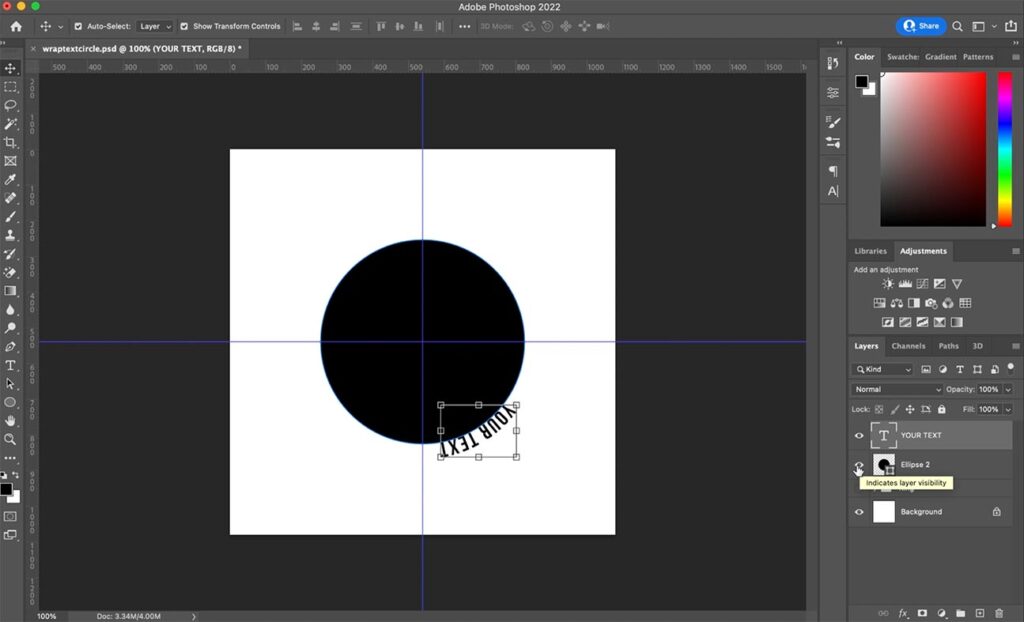
Step 8 – Left align the text (top bar or paragraph panel) to place the text at the path starting point.

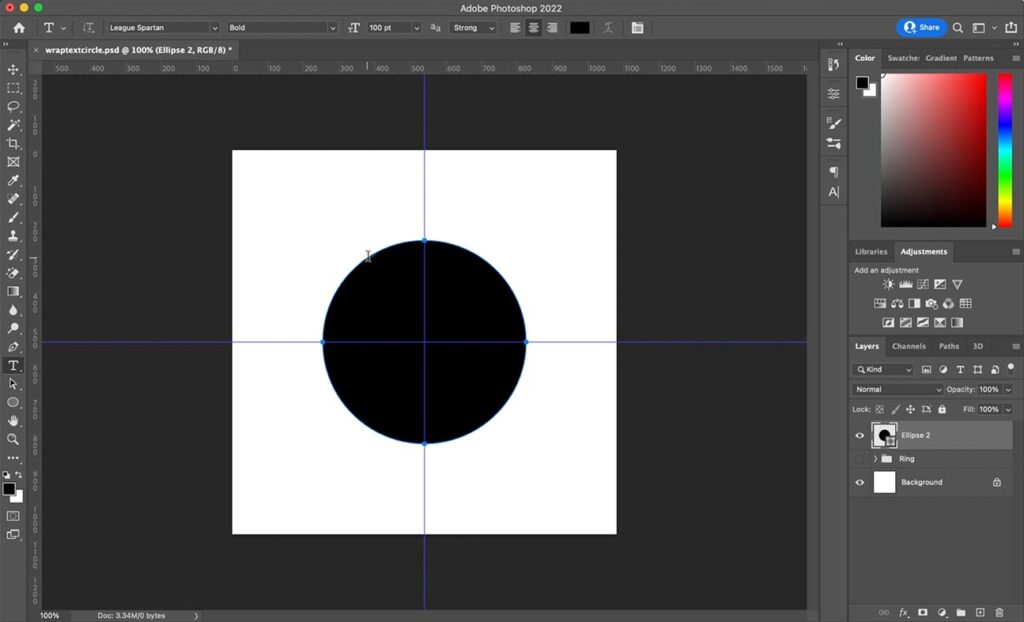
Step 9 – Now that the type path has been created, hide the ellipse layer in the layers panel.
Step 10 – Select the direct selection tool (left-hand toolbar) and hover over the text until a little arrow appears on the cursor.
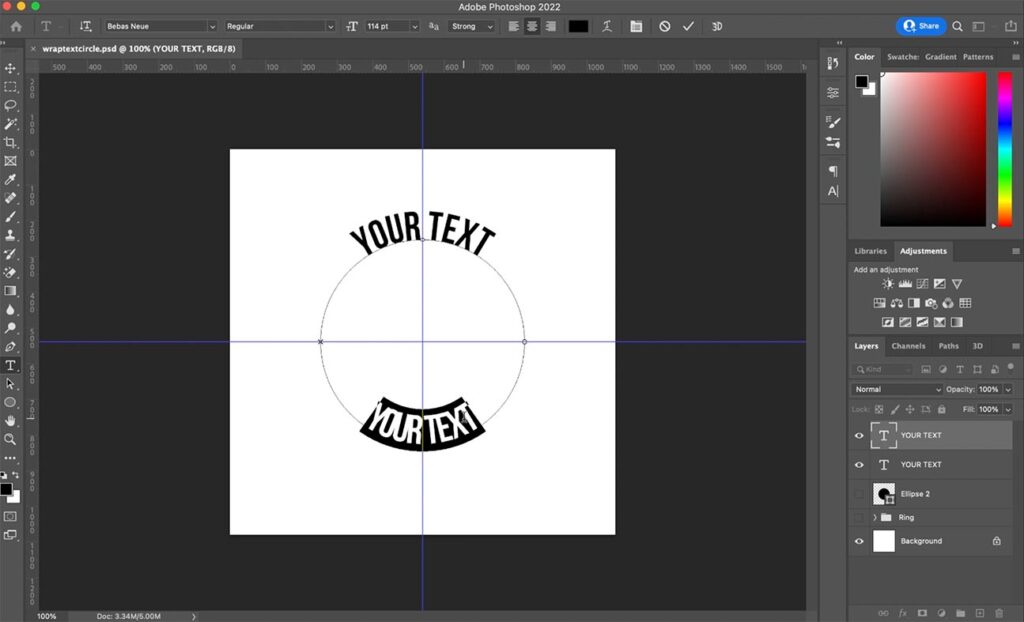
Step 11 – Click and drag the start point along the circular path until it snaps with the guide on the left of the circle.

Step 12 – Return with the selection tool and click and drag the end point to the right, until it snaps with the guide. You now have your start and end points of the top half of your type path.
Step 13 – Use the character and paragraph panels to center your text and make any changes, such as size or kerning. Remember, you can always change this later on as the text layer is fully editable.
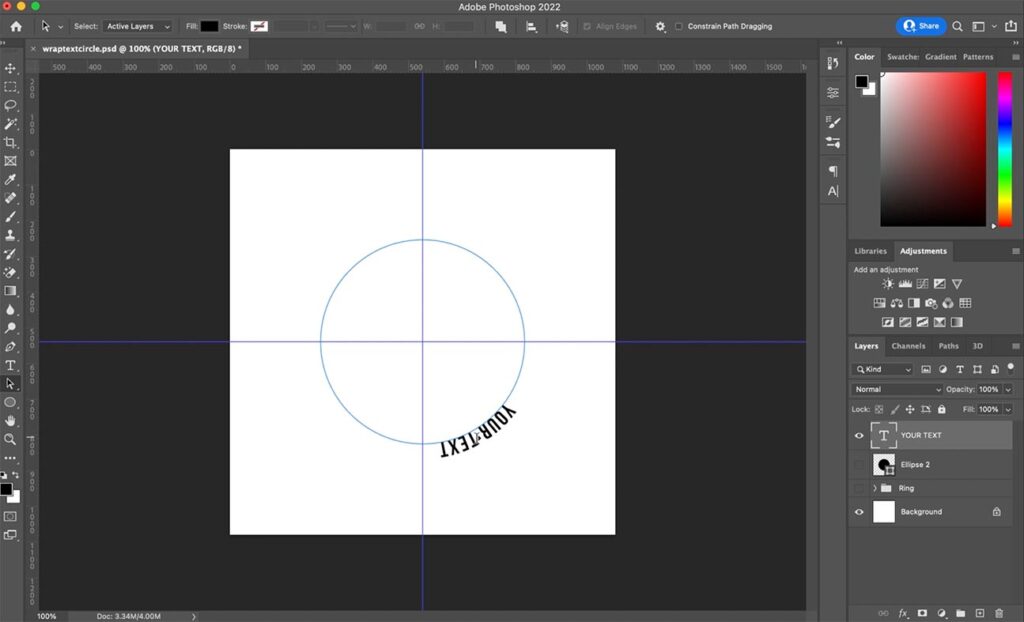
Wrap Text Underneath Circle
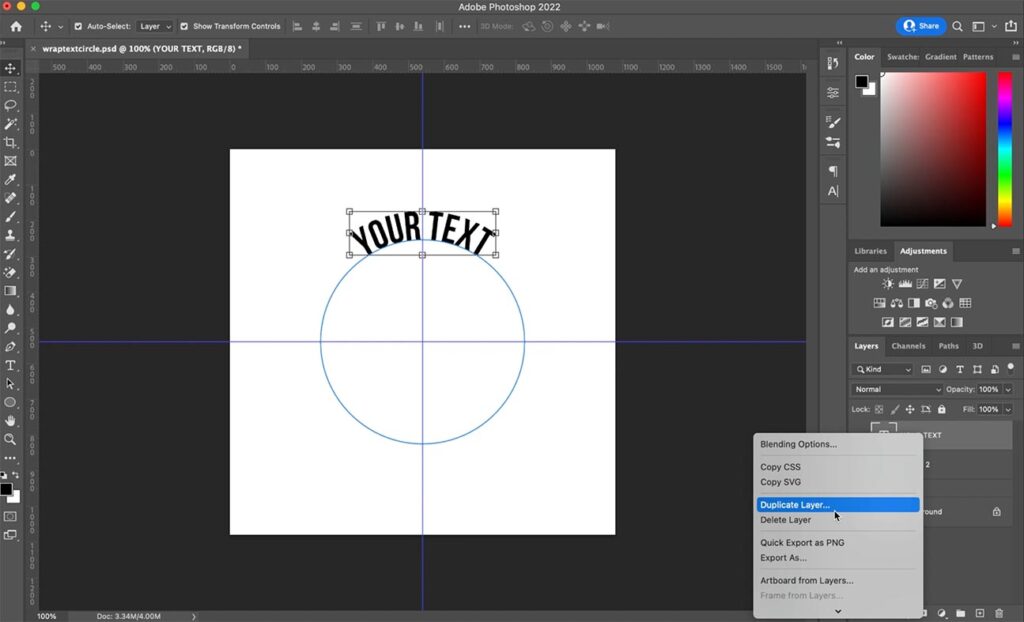
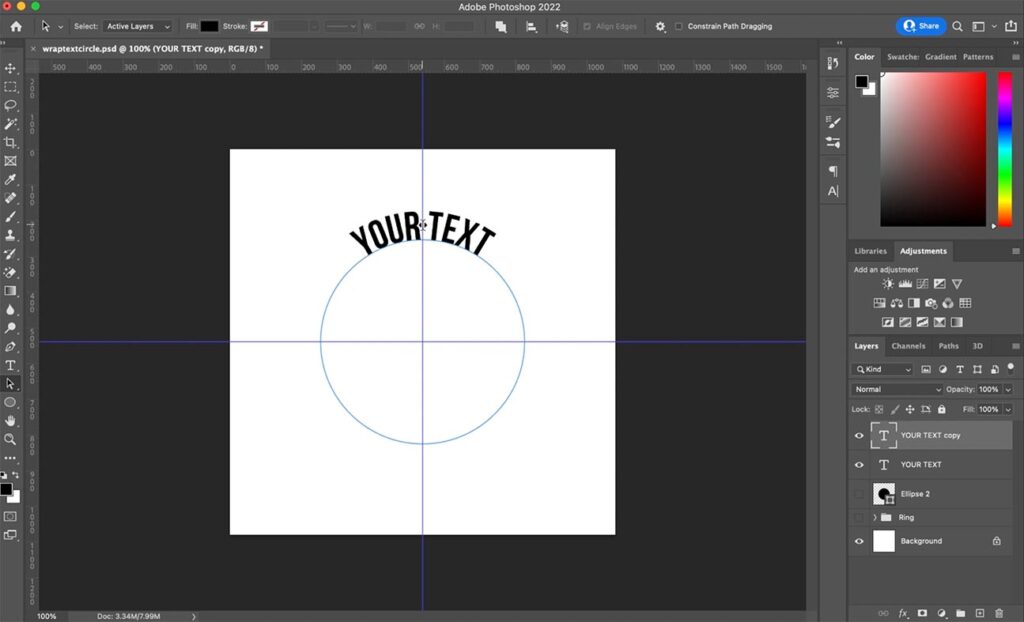
Step 14 – Select the type layer, right click, and make a duplicate by selecting ‘duplicate layer’.
Step 15 – Click the direction selection tool once more and hover over your duplicated text layer. You should see two little arrows appear, one on either side of the cursor.
Step 16 – Click, hold, and drag the text down, so that it switches from the outside of the type path to the inside.
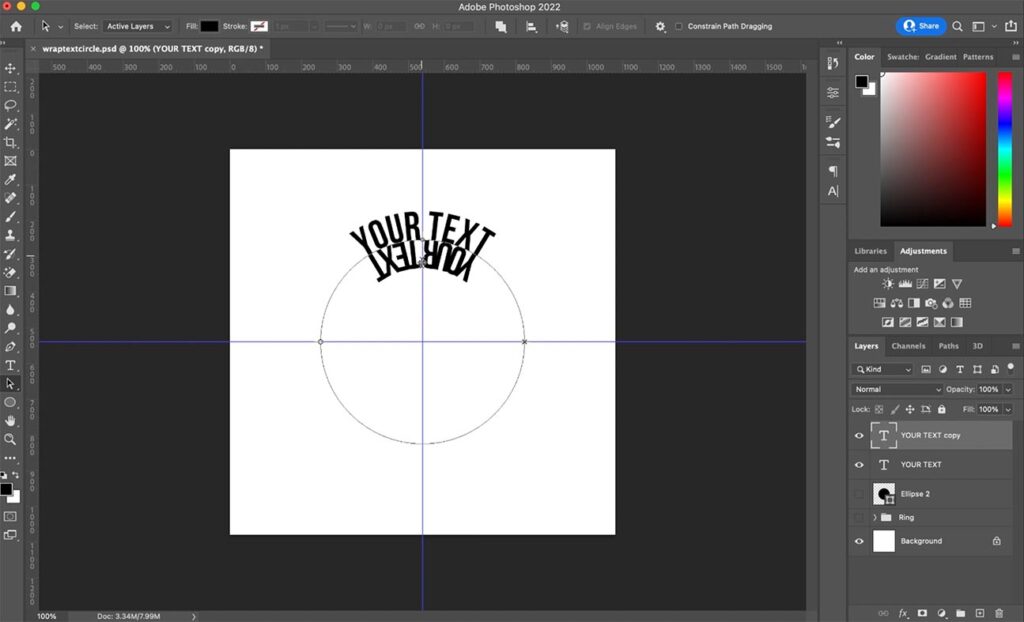
Step 17 – Keep the text held inside, drag the text around to the bottom, so that both the start and end points lock in place on the guide, then release.

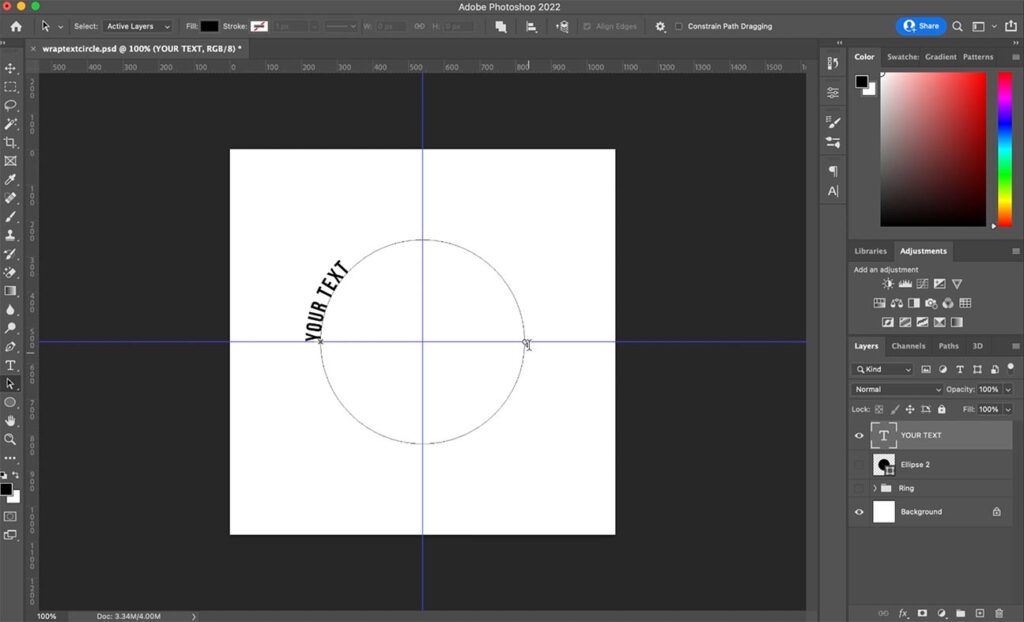
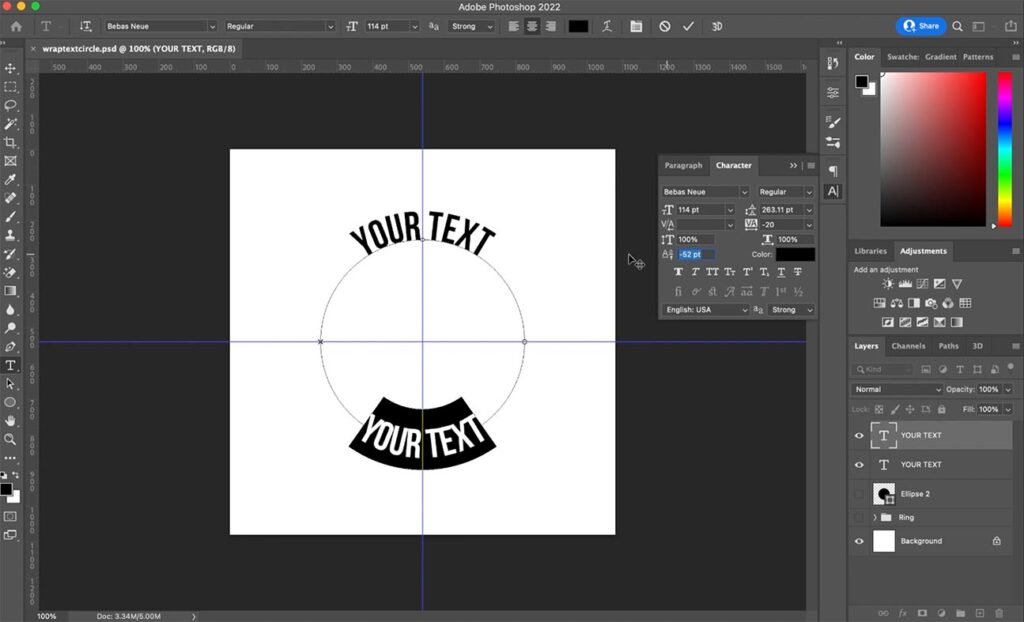
Step 18 – Select the type tool from the left-hand toolbar, click the text, and use cmd/ctrl + a to select all the text.
Step 19 – With the text selected, go to your character panel (window > character) and adjust the baseline number until your text aligns perfectly with the edge of the path.
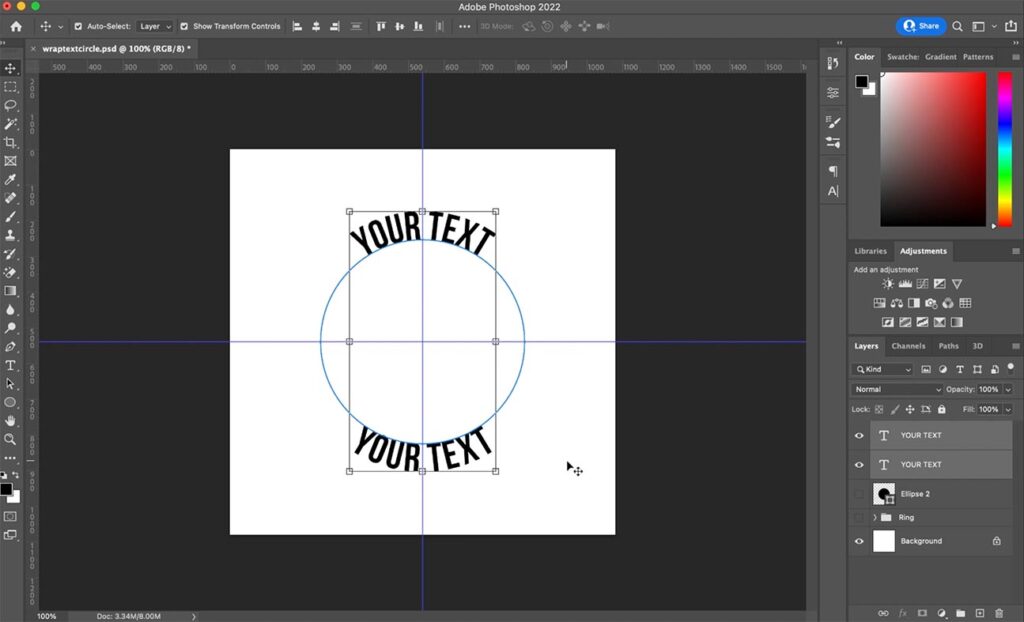
Step 20 – You now have two text layers, one running above the path to the middle of the circle and the other running below the path, again to the middle of the circle.
Both layers are fully editable text layers, so you can adjust the baseline, font size, orientation, and all other type options as many times as you like, on either of the layers.
Finally, you can bring in the rest of your artwork, and adjust your text accordingly.
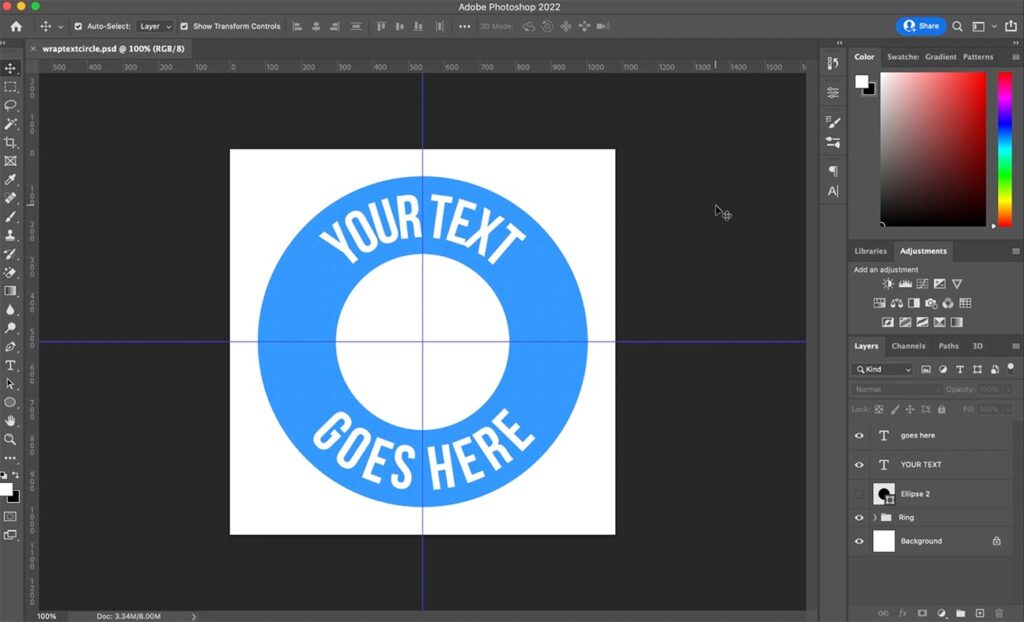
Have fun with this simple tutorial to give you curved text both above and below the horizontal center line of a circular path, and see what gorgeous circular designs you can come up with!