
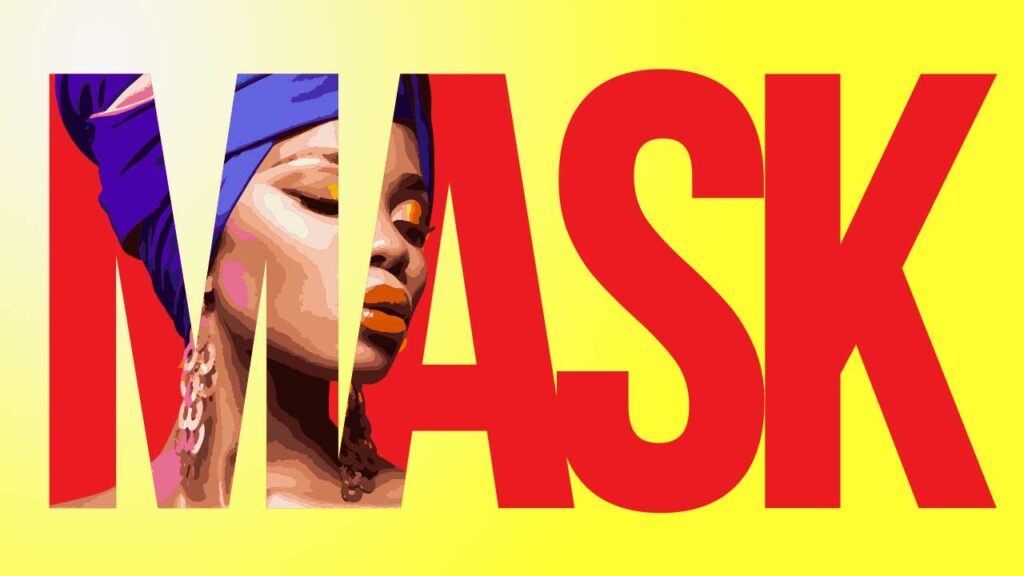
Learn how to make a clipping mask with text in Illustrator CC in this quick and easy tutorial. We’ll cover masking both raster and vector images for any font or text of your choosing.
Clipping Mask With Text In Illustrator Video Tutorial
If want to follow along as I demonstrate how to make a text clipping mask, feel free to watch the video tutorial at your own pace, and have fun! Otherwise, scroll down for the step-by-step written tutorial.
Step-by-Step Tutorial
Make Text Mask
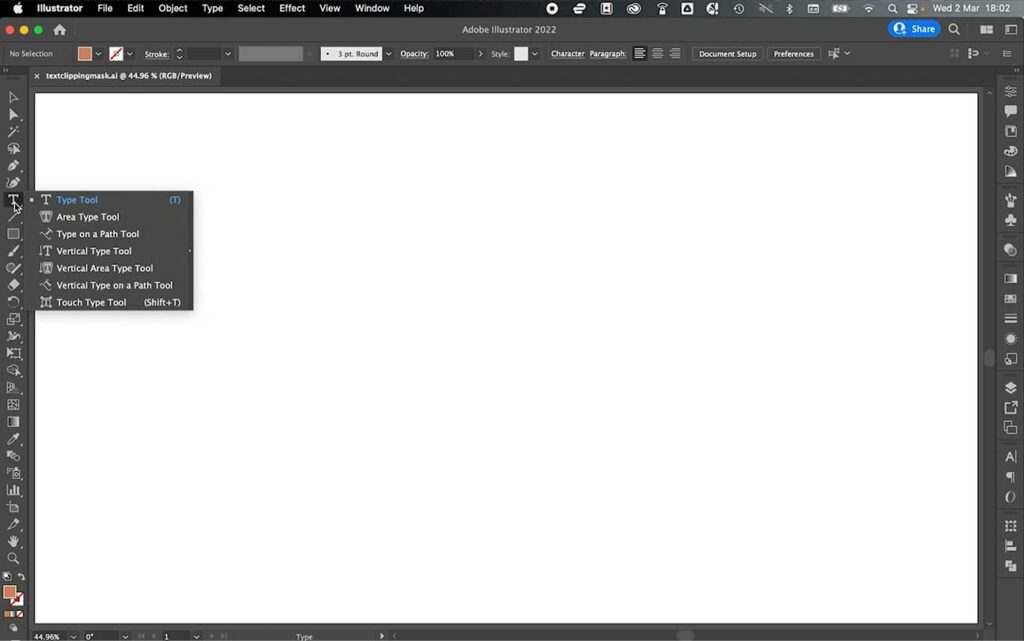
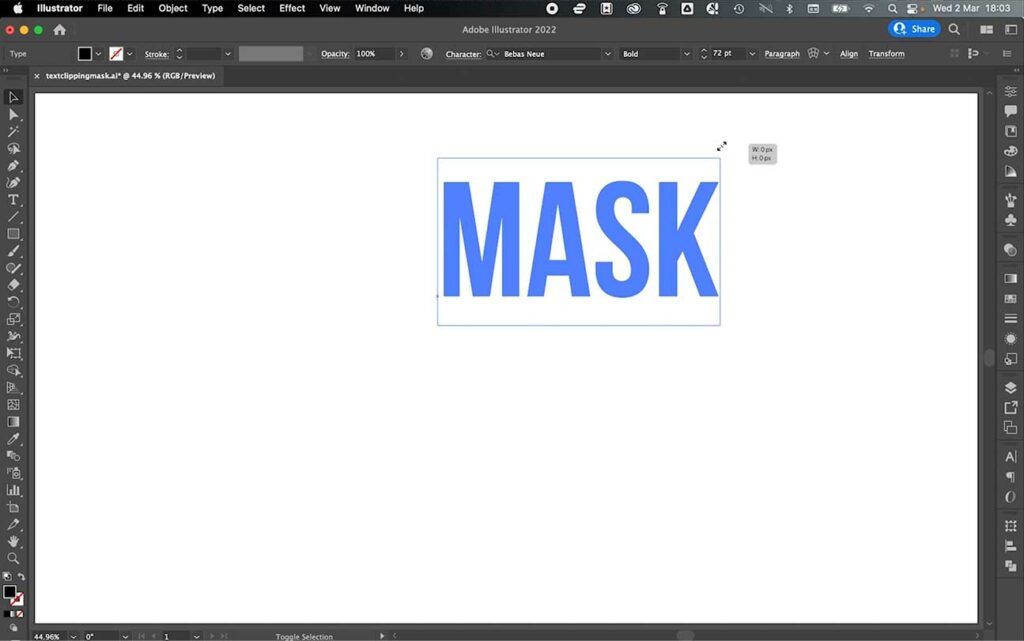
Step 1 – Select the type tool.
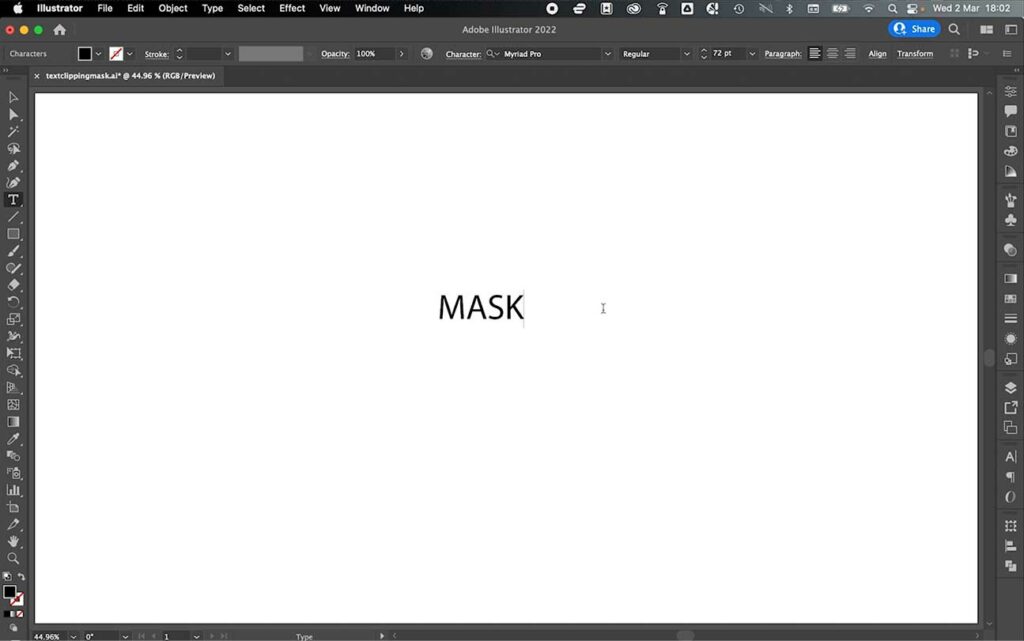
Step 2 – Click on the canvas and type out the text you want to become your mask.
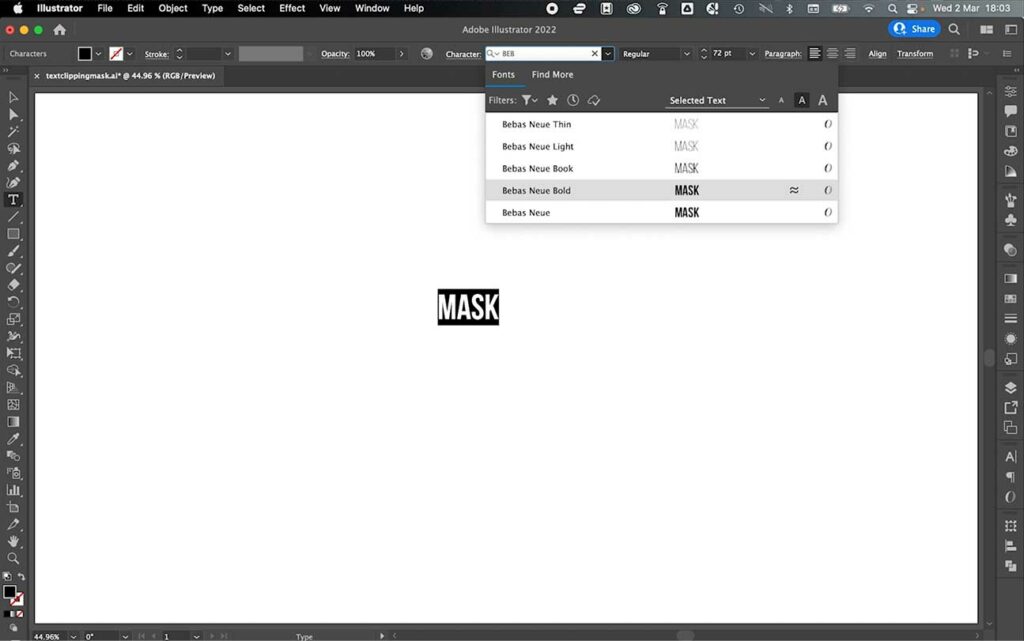
Step 3 – Use either the top bar quick character controls or the character panel on the right to change the font size, weight, and so on.
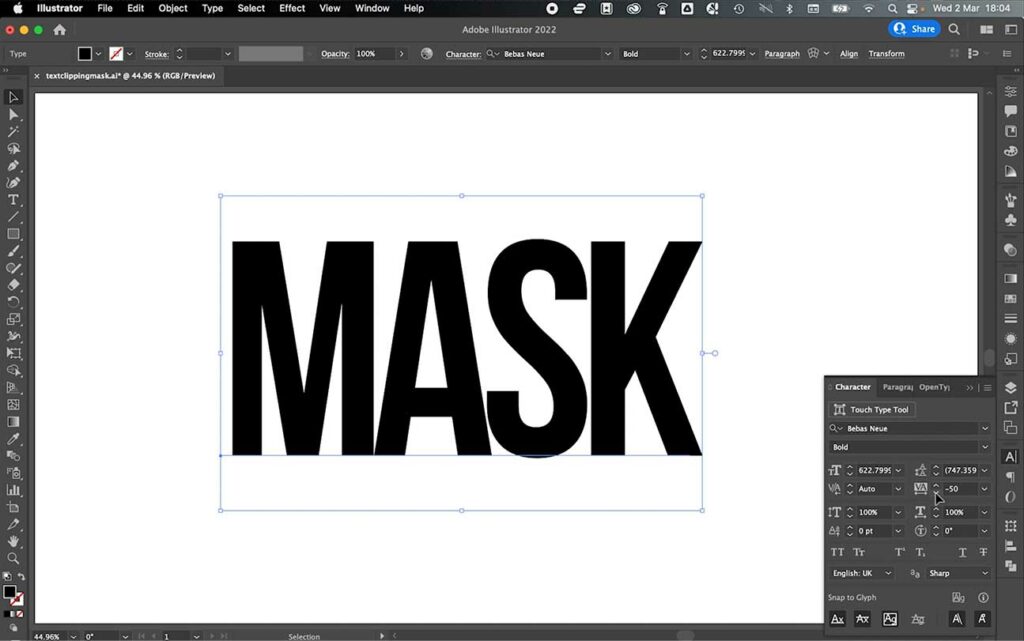
Step 4 – Select the text with the selection tool and click and drag the editable text out to the size you would like over the canvas.
Step 5 – Return to the character panel (window > type > character) and adjust the spacing between the letters to make them closer together.
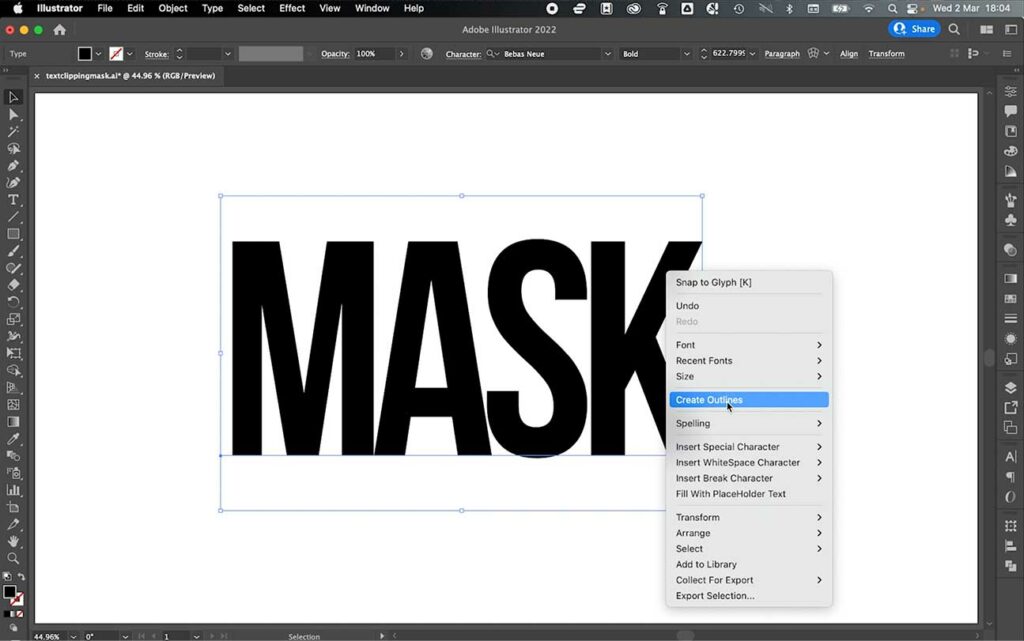
Step 6 – Select the text with the selection tool, right click, and create outlines.
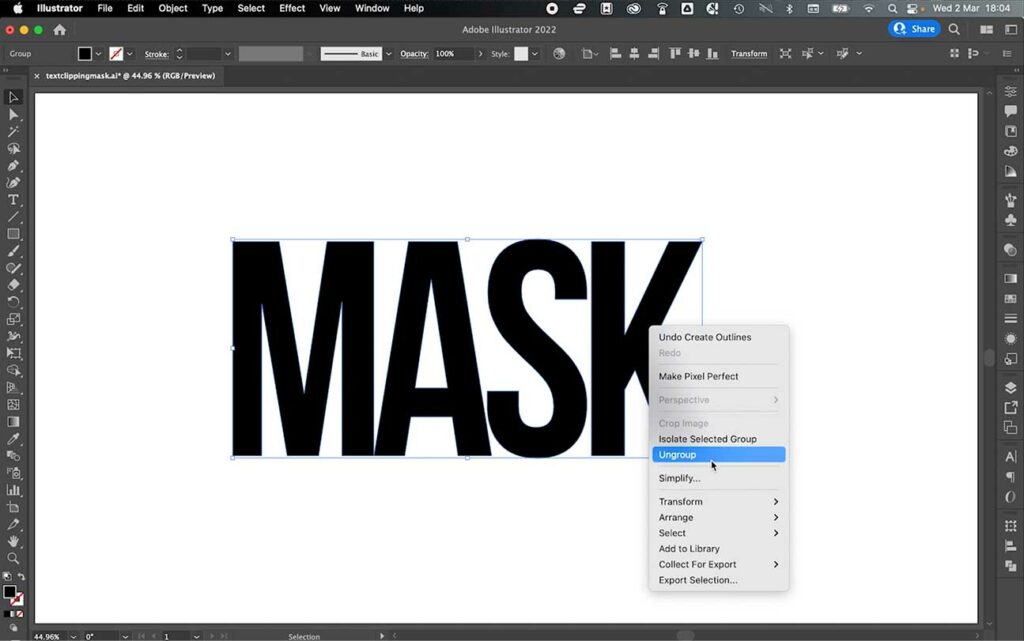
Step 7 – Right click again and ungroup the letters.
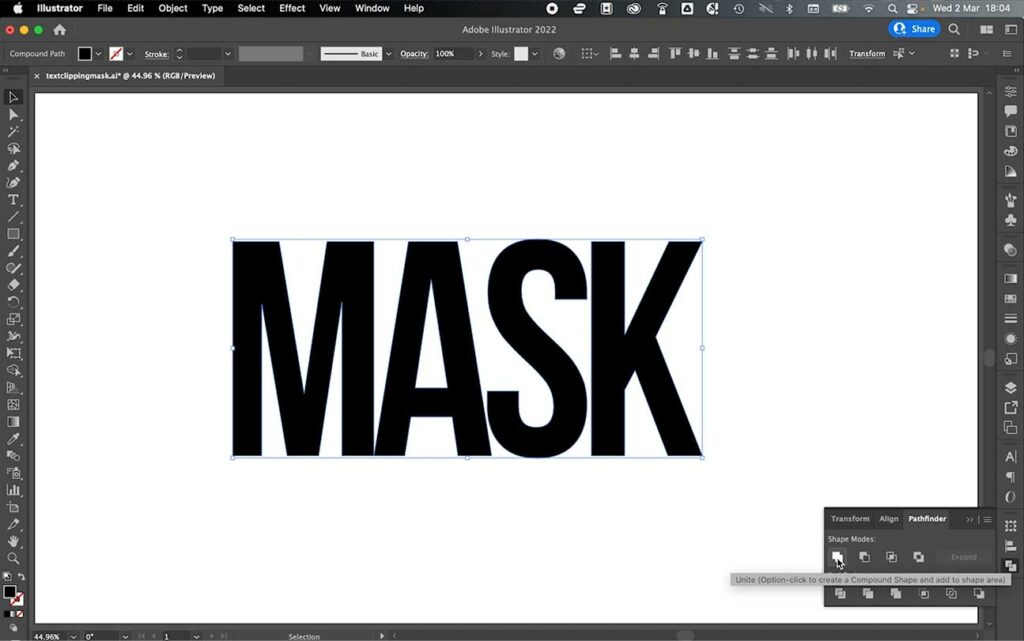
Step 8 – Use the selection tool to select all letters, then go to pathfinder (window > pathfinder) and unite the shape under the shape modes option.
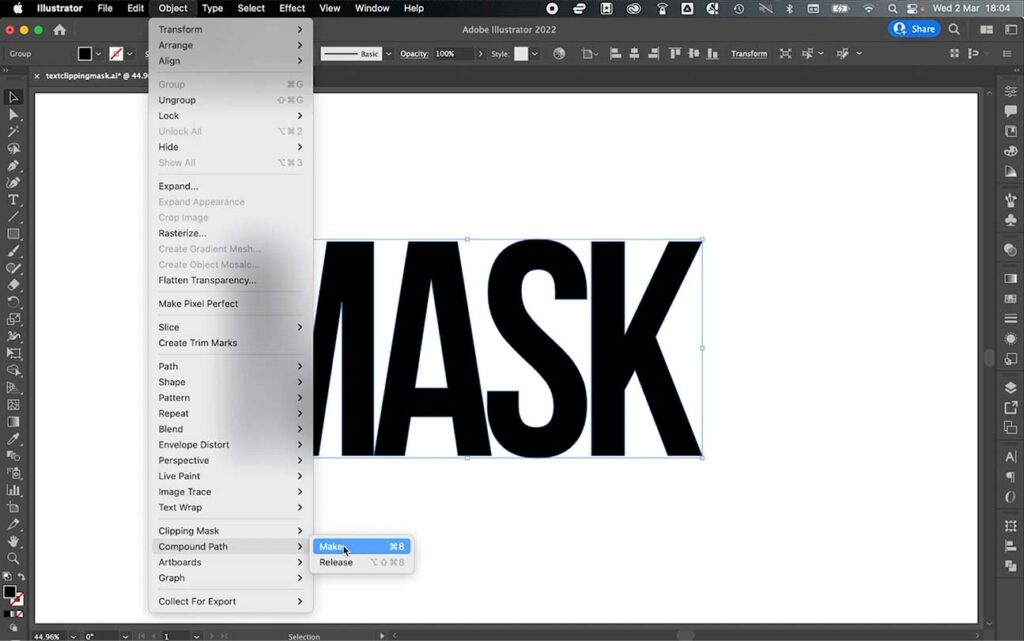
Step 9 – With the shape selected, go to object > compound path > make.
Clipping Mask for Raster or Flat Image
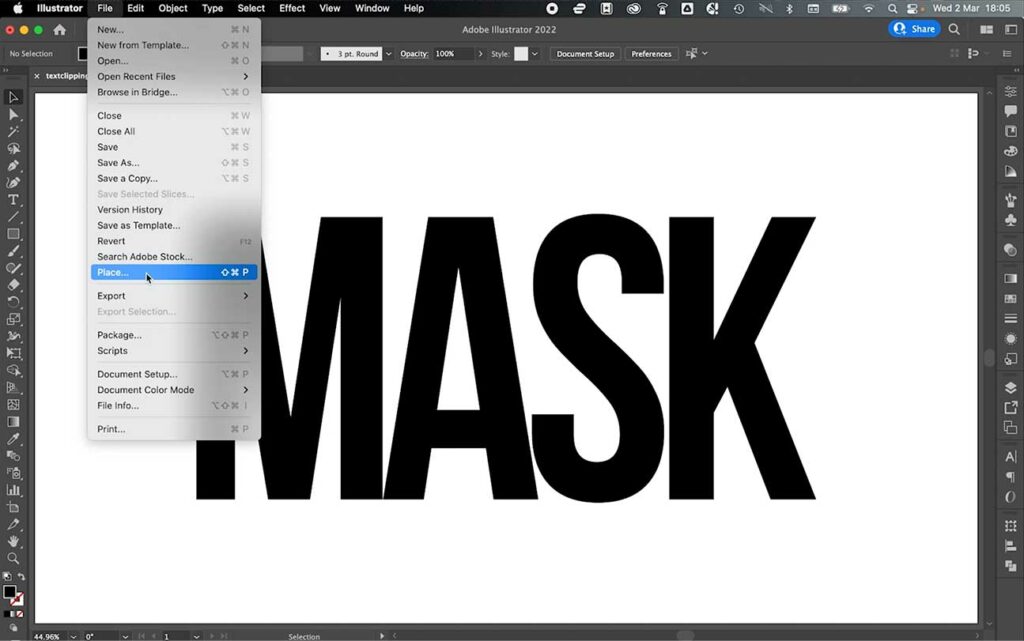
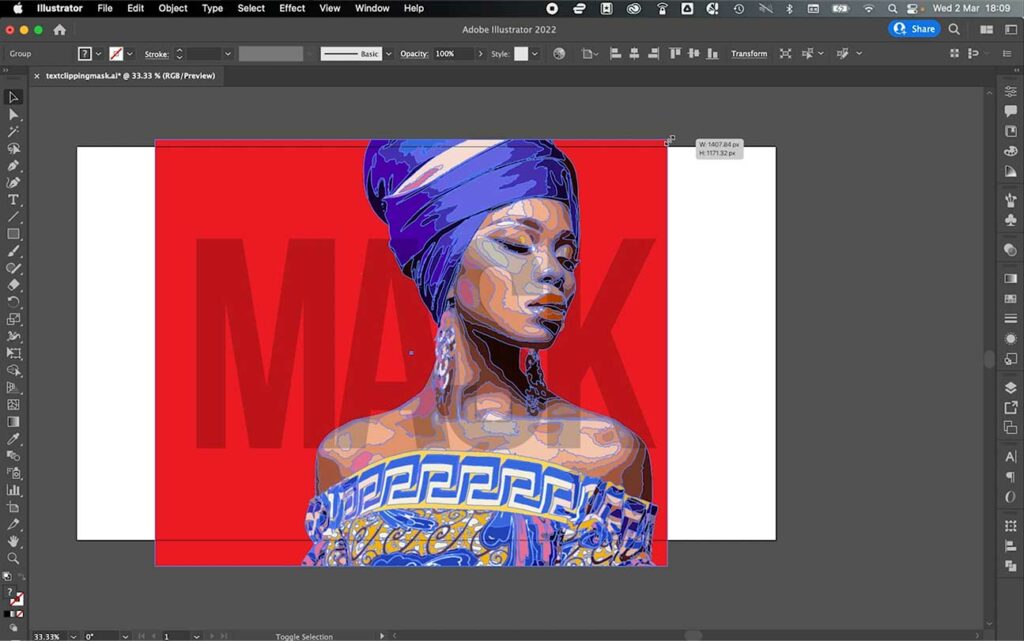
Step 1 – Now that your text mask is ready to be used, bring your image into Illustrator by going to file > place.
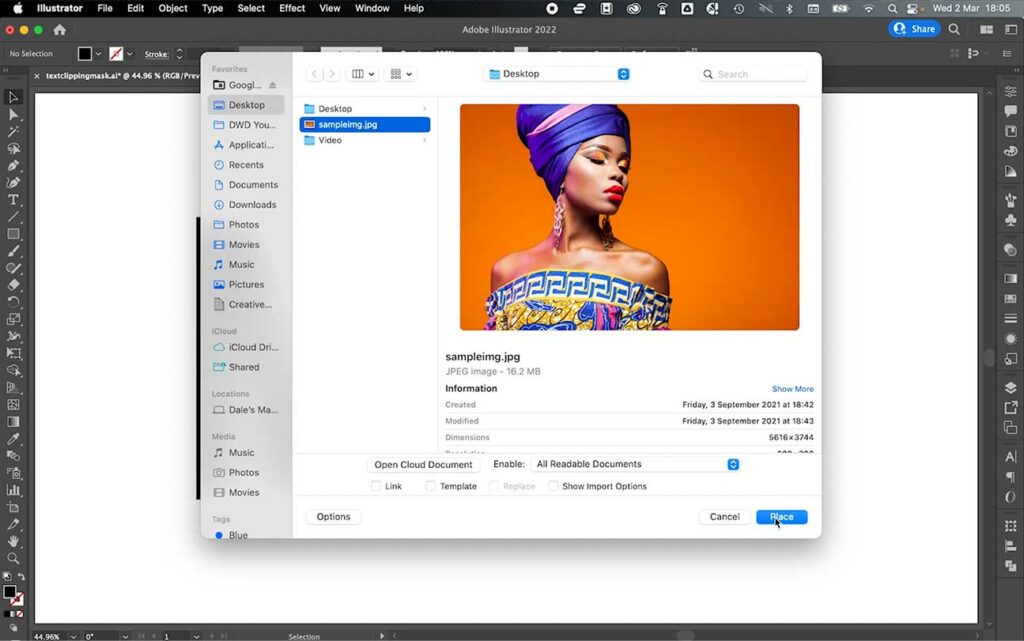
Step 2 – Locate your image and click place.
Step 3 – Click on the canvas to place your image into the document.

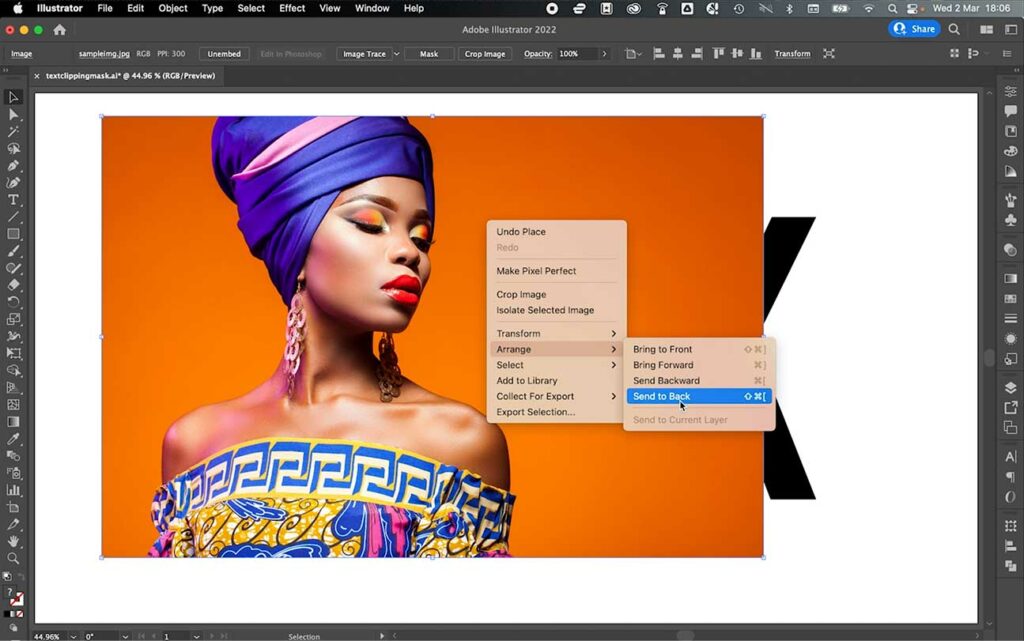
Step 4 – Right click and arrange > send to back.
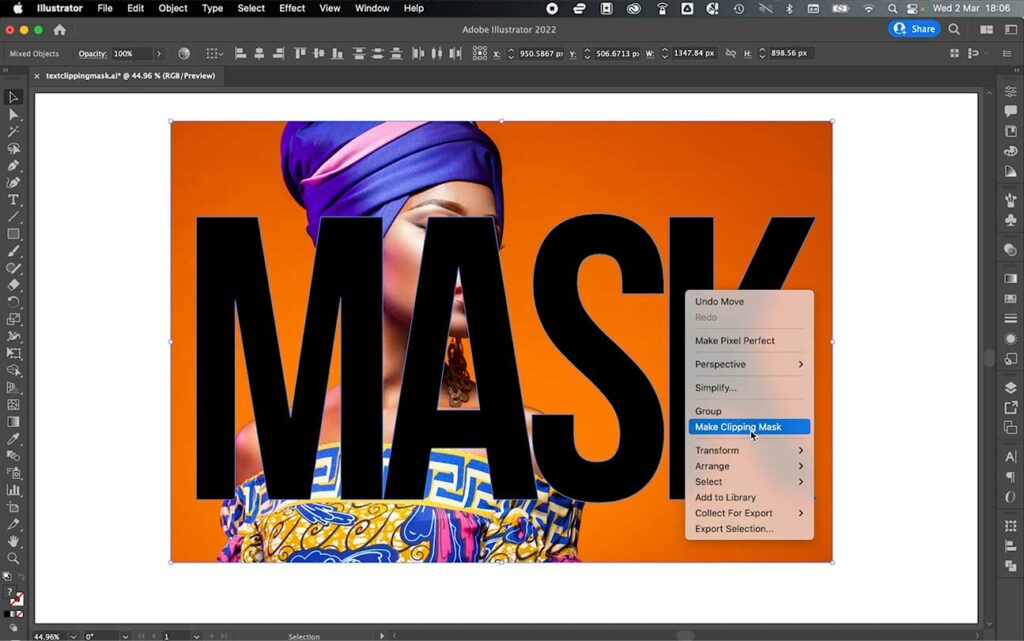
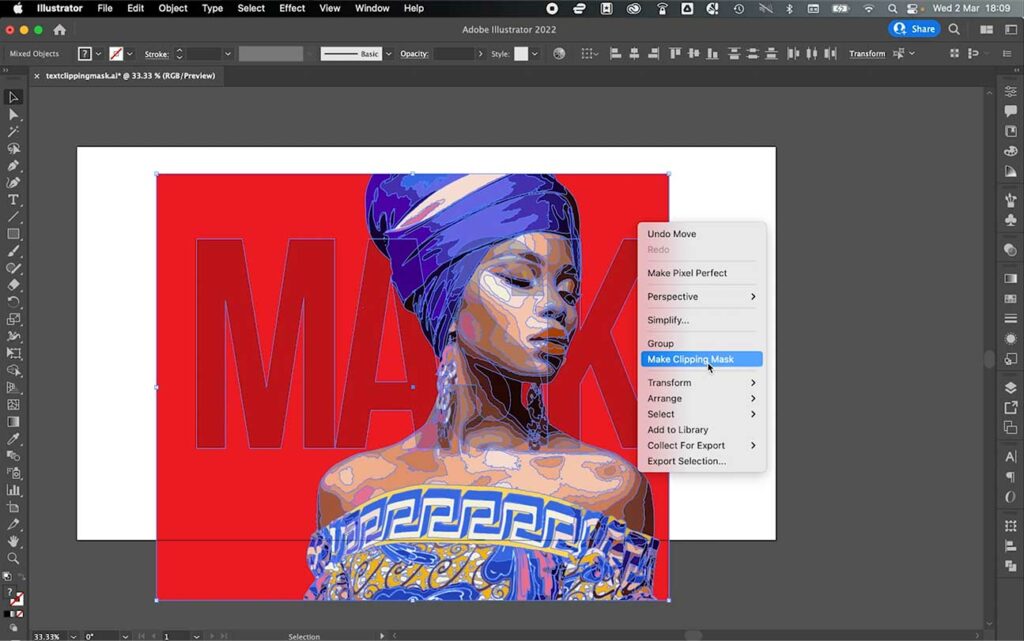
Step 5 – You can adjust the image now if you like, but you can also do this once in the mask. With the image behind the text select both the text and image with the selection tool, then right click and make clipping mask.
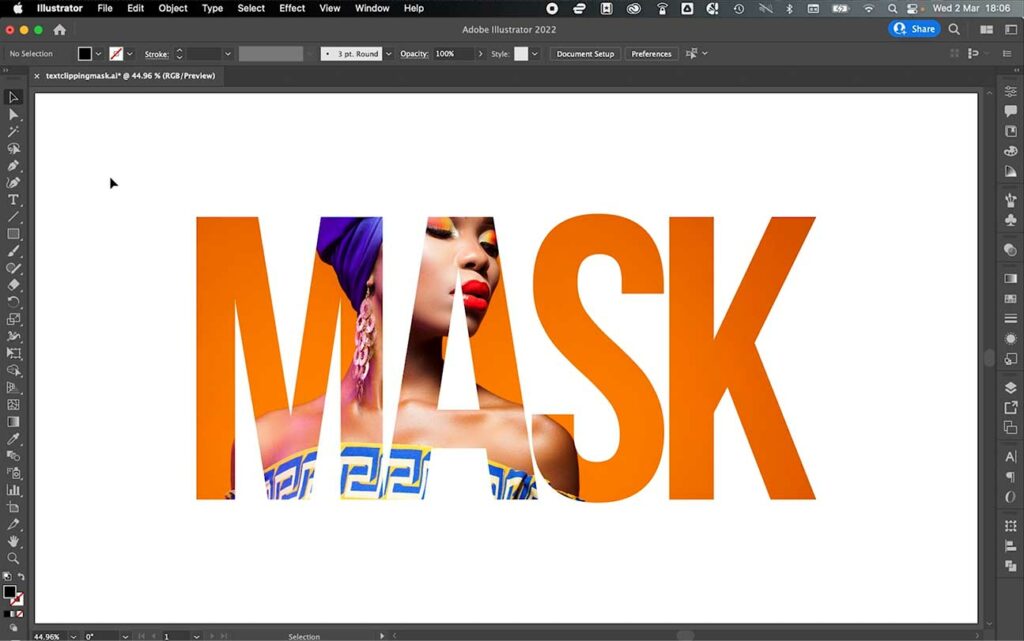
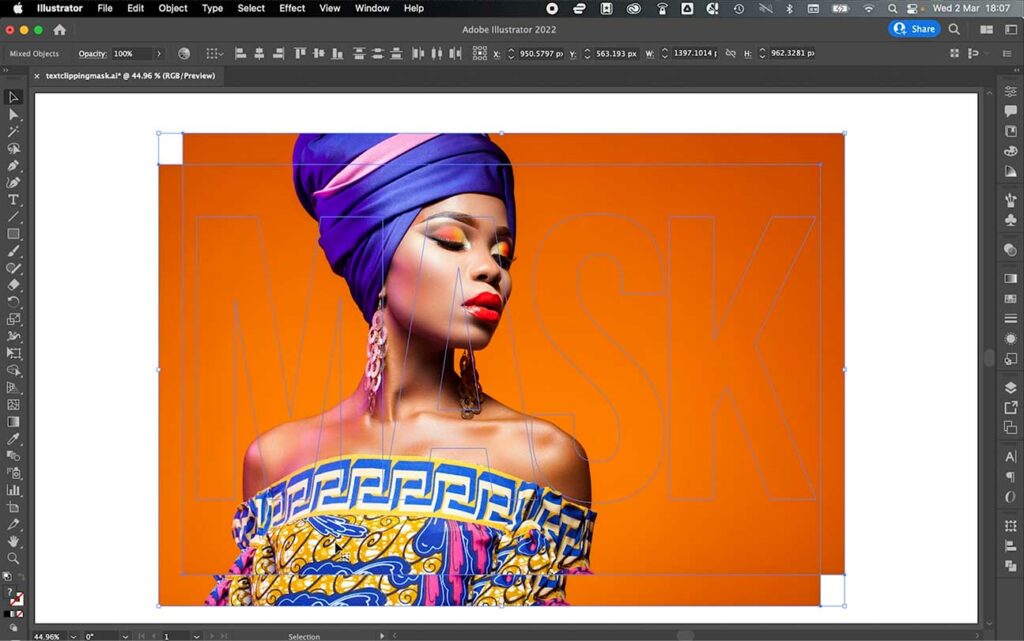
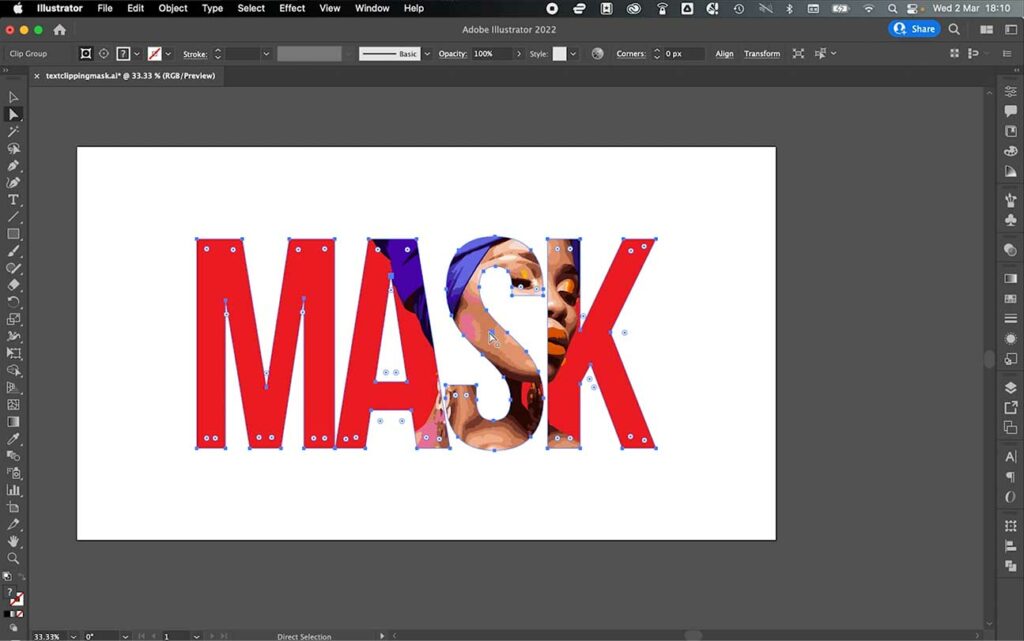
Step 6 – Your clipping mask will now be made. From here, you can make adjustments.
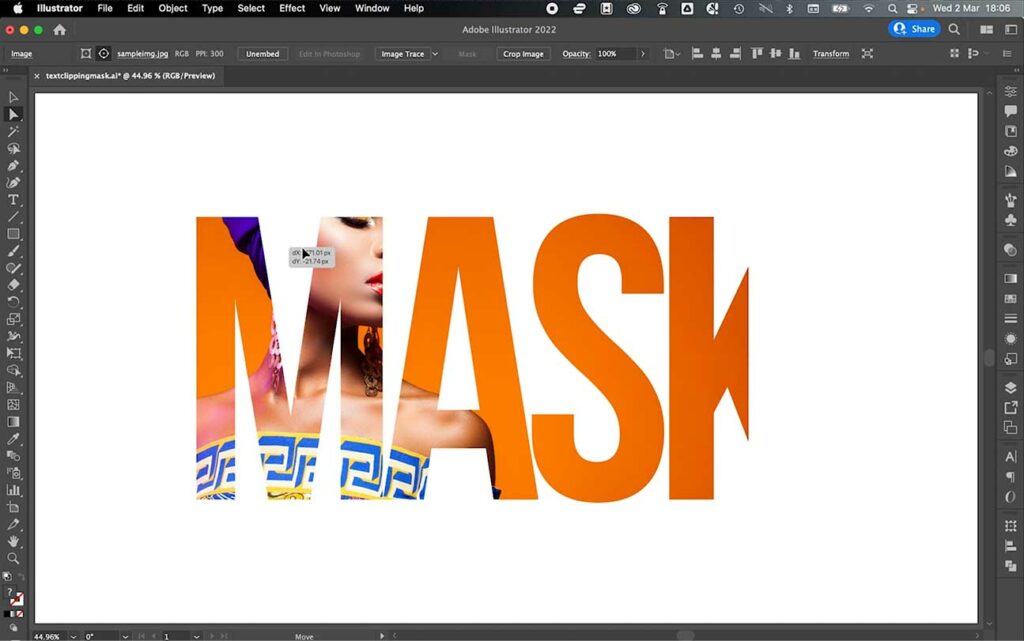
Step 7 – Using the direct selection tool (left-hand toolbar), hover over the image inside the text and click to select it.

Step 8 – From here, you can now click and drag to move the image around inside the mask, and use the transform dots on all four corners of the image to scale the image.
Release Clipping Mask
Step 1 – If you would like to release the clipping mask, first select the object with the selection tool and go to object > clipping mask > release.
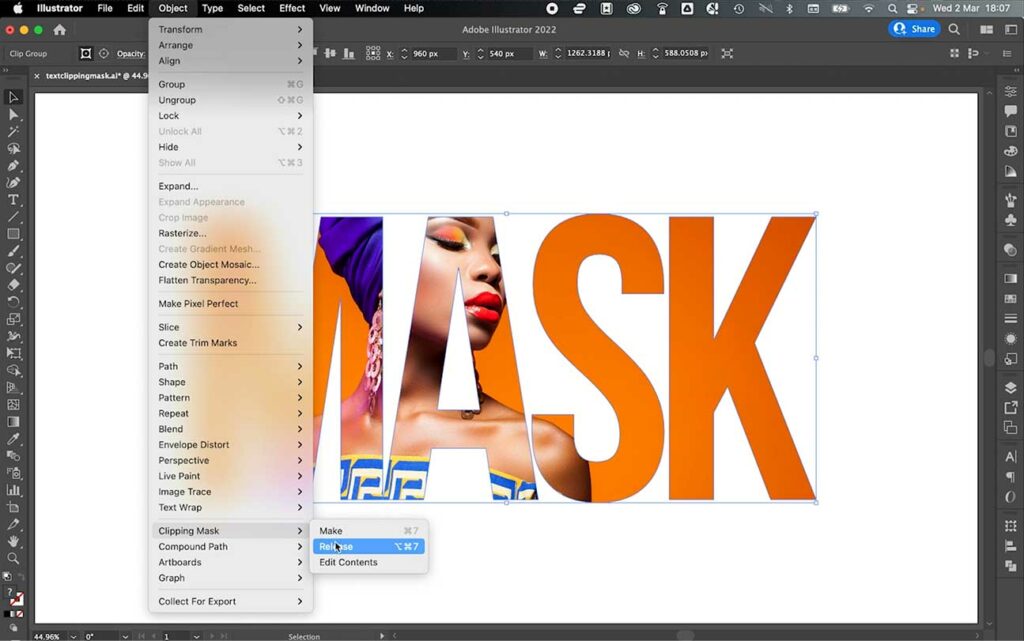
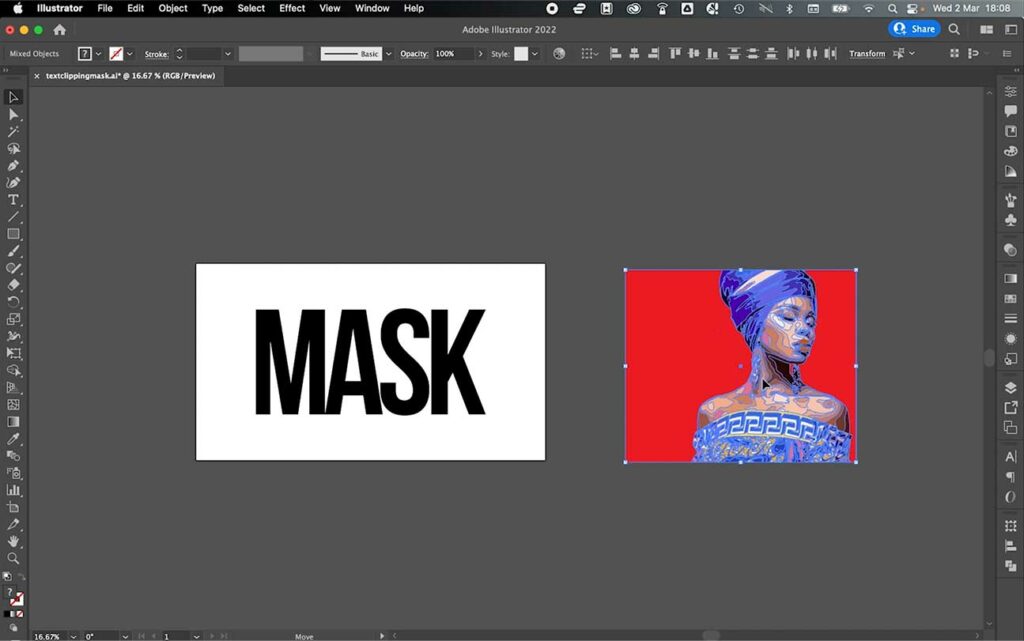
Step 2 – Your mask will now release and the image will come out of the text. Your text will lose its fill and stroke properties doing this, so be sure to move the image out of the way and select it with the selection tool.
Clipping Mask for Vector
Step 1 – You can also use scalable vector artwork with a text clipping mask. First, bring your vector artwork into the document. You don’t have to place, you can simply copy and paste it in from another document.
Step 2 – Make sure all parts of the vector are grouped by using the selection tool to select all components, then right click and group.

Step 3 – Positing the grouped vector behind the text (right click > send to back, as before) and you can make things easier by selecting the text and lowering the opacity (quick options in the top bar).
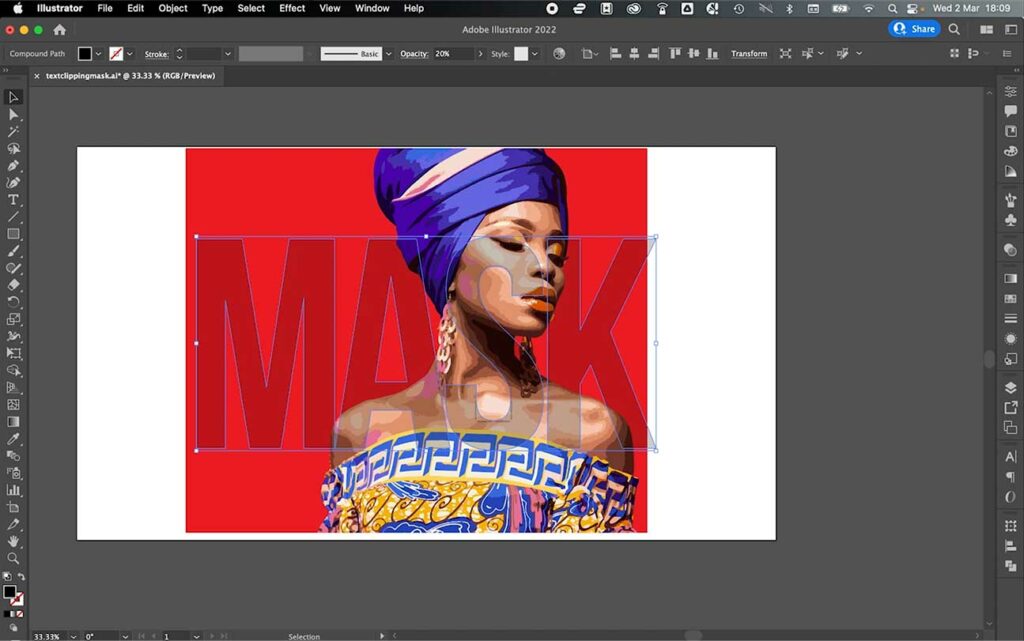
Step 4 – Use the selection tool to move the vector accordingly into position, and click and drag the corners (hold shift to keep in correct ratio) to make the vector larger or smaller.
Step 5 – Once you’re happy with the positioning, select both the text and vector group with the selection tool, right click, and make clipping mask.
Step 6 – Your vector image will now be inside the text. You won’t be able to use the direct selection tool to select and move the whole image, so if you want to move the image simply release the mask (go to ‘release mask’ section) and repeat the above steps.
Being able to use a text-based clipping mask with both raster and vector images is a real game changer, and it can really help you design some beautiful-looking typography-based artwork.
I really hope this tutorial helped you out and gave you a better understanding of the power of what you can do with non-editable text once it has been outlined, combined, and other options.
Featured Image: Shutterstock